The EGR valve is a crucial component of most car exhaust systems. When it fails, your car is likely to fail state emission tests. Left too long, it can reduce your fuel efficiency and lead to long-term engine damage.
Fortunately, problems with the EGR valve are relatively easy to diagnose and fix. Even if you don’t have a lot of repair experience, you can do it in your garage. Read on below to learn more about the EGR valve, how to repair it, and when to replace it.
What is an EGR valve?

EGR stands for “exhaust gas recirculation.” The exact design can vary between manufacturers. The basic form of all EGR valves is similar. These valves are between 4 and 6 inches tall, topped with a round metal disc about 3 inches across. The size and placement of the EGR valve make it easy to identify when you open the hood, though it may be underneath another component.
You can find EGR valves on both gasoline and diesel engines. It’s one of the oldest emission reduction techniques for combustion engines. You’ll find controllable EGR valves on engines dating back to the early 1970s. The design has changed quite a bit over the years, of course, increasing the sophistication and control of the valve.
The original EGR valve used a vacuum for the control. If you have an older car, it may have a purely vacuum-controlled EGR valve. Newer vehicles may use a hybrid system that incorporates electronic components into this vacuum control. They may also use a purely electronic EGR control, though. In some cases, this means eliminating the EGR valve completely, replacing it with a digital valve.
There are a half-dozen or so different popular configurations for modern EGR valves. Check your car’s manual to identify what your vehicle uses before you attempt any repairs or order any new parts.
What does an EGR valve do?
The basic function of the EGR valve is to redirect exhaust back into the intake manifold. To understand why this is important, you first need some background on car exhaust systems.
The exhaust is mostly comprised of non-volatile carbon dioxide. The hotter the engine gets, though, the more nitrogen oxides are formed. Nitrogen Oxides are the compounds that produce smog. To prevent this, the EGR valve feeds small amounts of carbon dioxide back into the combustion chambers. This lowers the engine temperature and slows the production of smog-forming compounds.
What does this do for the engine? Most obviously, it reduces your vehicle’s emissions, which makes your vehicle more environmentally sound and helps it pass state emission tests. The EGR valve also improves your engine efficiency, helping it stay at an optimal temperature. You’ll get better gas mileage when your EGR valve is working correctly.
Where is the EGR valve?
As we said above, every engine is slightly different in its design. You’ll always find the EGR valve on the intake manifold. This is a major component of your engine, so finding it shouldn’t be too hard when you know what you’re looking for.
Open up the hood of your vehicle and look at the top side, closest to the windshield. Find the air filter, which will be the part of the engine that sticks up the most near the top of the engine. Below this is the carburetor, a large piece with a round opening connecting to the throttle body.
Following this path will get you to the intake manifold. For a layman, this looks like a series of interconnected pipes. However, many of you have engine valves. Attached to this is where you’ll find the EGR valve.
What are the symptoms of a bad EGR valve?
There are quite a few signs that could indicate a dirty or malfunctioning EGR valve:
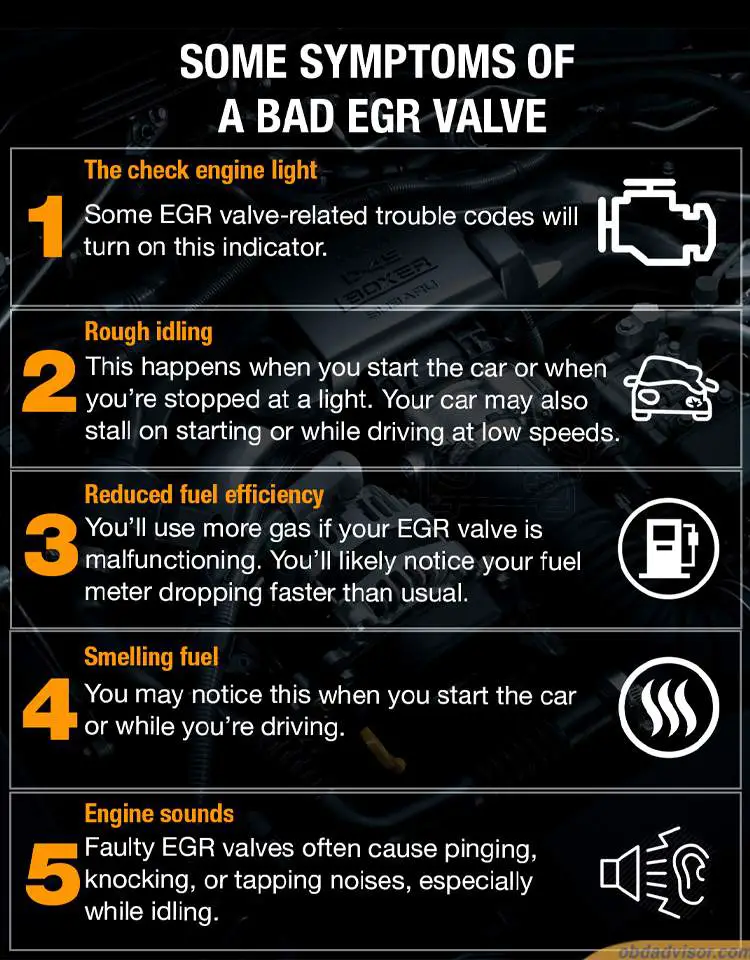
- The check engine light. There are many different systems that will turn on this indicator. We’ll talk in a second about what trouble code specifically points to a bad EGR valve.
- Rough idling. This can happen when you start the car or when you’re stopped at a light. Your car may also stall on starting or while driving at low speeds.
- Reduced fuel efficiency. You’ll use more gas if your EGR valve is malfunctioning. You’ll likely notice your fuel meter dropping faster than usual.
- Smelling fuel. You may notice this when you start the car or while you’re driving.
- Engine sounds. Faulty EGR valves often cause pinging, knocking, or tapping noises, especially while idling.
All of your senses can be helpful when diagnosing car trouble. If you notice a gasoline smell, especially when you start your car, that could point to EGR valve issues. Your ears can help, too. The engine might make pinging, knocking, or tapping noises, especially while idling.
Paying close attention to your engine’s symptoms can tell you not just whether the EGR valve is malfunctioning but how it’s happening. There are two main ways the EGR valve can malfunction: by sticking open or sticking shut.
If the valve is stuck open, gasses can flow continuously into and out of the intake manifold. The car will use more fuel, and you’ll smell gasoline because the smog release is unrestricted. Idling will be especially rough when the engine is cold. It may still buck and stall at low speeds, even after warming up.
If the valve is stuck closed, the flow of gasses to the intake manifold is completely blocked, which is what gives you the auditory signals. At higher temperatures, the fuel can ignite early, causing pinging sounds at low speeds. You might also hear a loud bang after starting the car. This is a second ignition, and in some cases, can be powerful enough to damage your engine.
What trouble codes are related to the EGR valve?
Since it’s linked to the exhaust system, problems with the EGR valve will trigger trouble codes detectable with an OBDII scanner. The main trouble code you’ll get is P0401, which reads as “insufficient EGR flow.” Basically, the car is telling you not enough carbon dioxide is flowing back into the engine.
Trouble codes point you in the direction of the problem, but they’re not always specific to a certain component. The P0401 code often indicates a failure in the EGR valve. It could also be caused by faulty wiring or a blocked pipe, however. This is why you should check to make sure the EGR valve is the problem before you run out and buy a new one.
How to check the EGR valve?
The process of checking your EGR valve depends on whether you have a mechanical or an electronic EGR valve. For mechanical or hybrid EGR valves, the easiest way to test is with a vacuum pump. If you don’t have one, you can rent or borrow them from most auto parts stores.
A mechanical EGR valve is closed by a plunger attached to a spring. A diaphragm inside the valve is pulled when a vacuum is created, pulling on the spring and opening the valve. Hooking up a vacuum pump lets you test this operation and eliminate other potential problem points. Just follow these steps:
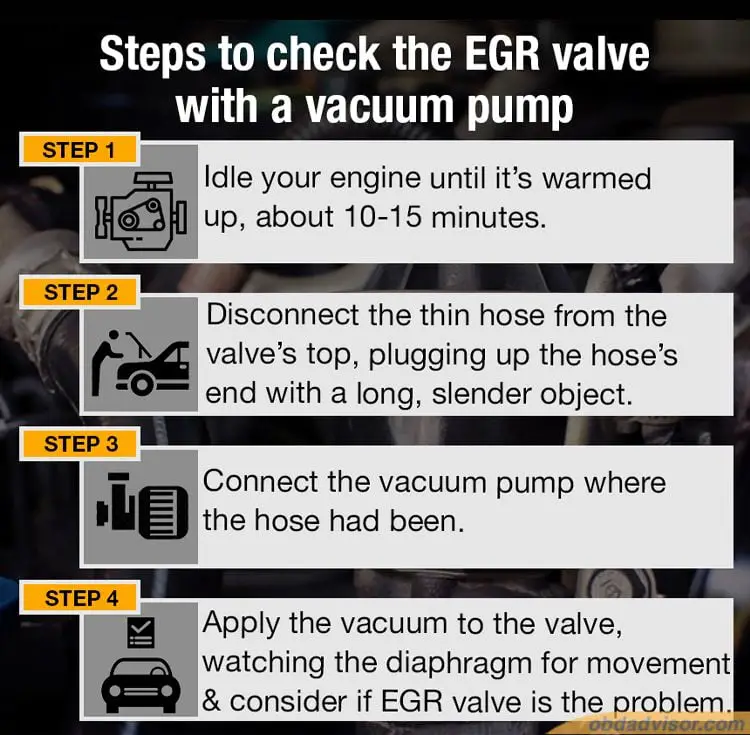
- Idle your engine until it’s warmed up, about 10-15 minutes.
- Disconnect the thin hose from the top of the valve, plugging up the hose’s end with a long, slender object. Screwdrivers often work nicely for this purpose.
- Connect the vacuum pump where the hose had been.
- Apply the vacuum to the valve, watching the diaphragm for movement while you do. If it doesn’t move or hold a vacuum, the problem is definitely with the EGR valve.
Pay attention to how your engine’s running as you go through this test. When you apply the vacuum, it should start idling rough and might even stall. If there’s no change, the issue is likely a blocked passage elsewhere in the system, not the EGR valve itself.
You can also manually check if you see any gaps or openings between the metal disc on top and the rest of the valve. These are a visual indication of a bad diaphragm. Carbon build-up can also impede the movement of the plunger or diaphragm, and you may be able to see this around the disc.
For an electrical EGR valve, the best way to test is with a multimeter, which is a tool that measures current and voltage. They cost less than $20 at most home improvement stores. Once you have one, follow these steps:
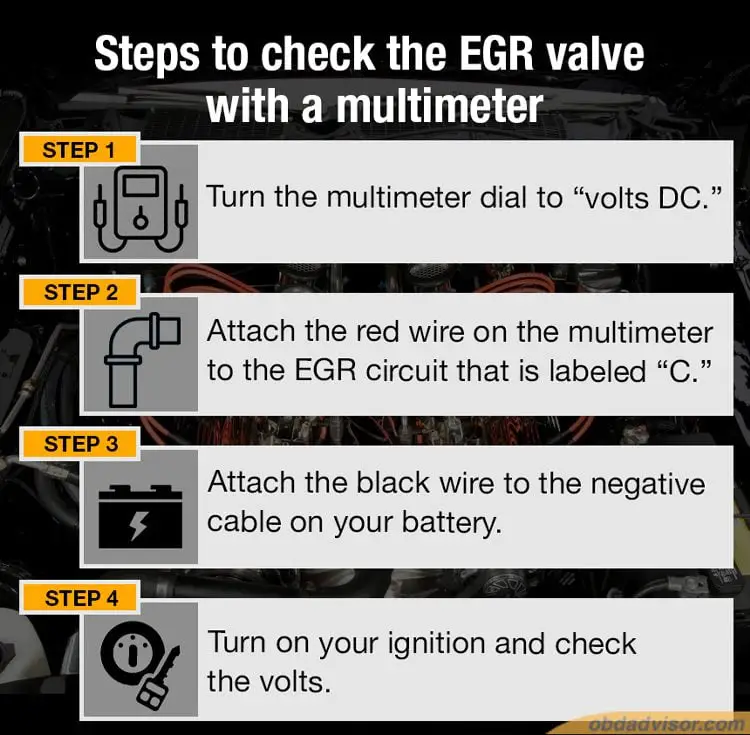
- Turn the multimeter dial to “volts DC.”
- Attach the red wire on the multimeter to the EGR circuit. There are five circuits on an EGR valve, labeled A-E. You want the middle one, labeled “C.”
- Attach the black wire to the negative cable on your battery.
- Turn on your ignition. If the volts are higher than .9, the EGR system needs to be repaired. If no volts are read, the EGR valve has failed completely.
There are other methods you can use to test for specific issues with the EGR valve, including:
- Testing the diaphragm condition. The diaphragm in the valve wears out over time, leading to leaks. You can test the diaphragm easily with a can of carburetor cleaner. Open your hood, put on the parking brake, and start your engine. Put the carburetor cleaner’s straw through one of the openings in the valve and spray a short burst. If this makes your engine’s RPM increase, there’s a leak in your diaphragm, and the valve should be replaced.
- Testing the diaphragm movement. Start by idling your engine for about 15 minutes to get it to operating temperature. Have an assistant quickly push and release the accelerator pedal until the engine gets up to about 2,500rpm. Watch the valve as this is happening. If there’s no movement in the diaphragm, disconnect the vacuum hose on top and put your finger on the opening. Ask the assistant to rev the engine again. If you don’t feel any pressure on your finger, the problem is likely a faulty circuit or blocked passage.
How to fix a bad EGR valve?
Not all problems with the EGR valve mean you have to replace the entire component. In many cases, you can clean or repair the valve. Identifying the specific problem using the testing methods above will tell you whether you can fix the valve or it’s time for a new one.
Start by cleaning the valve to make sure it’s not simply sealed shut by carbon build-up. The process is slightly different, depending on if you have a mechanical or an electronic EGR valve.
Cleaning mechanical EGR valves:
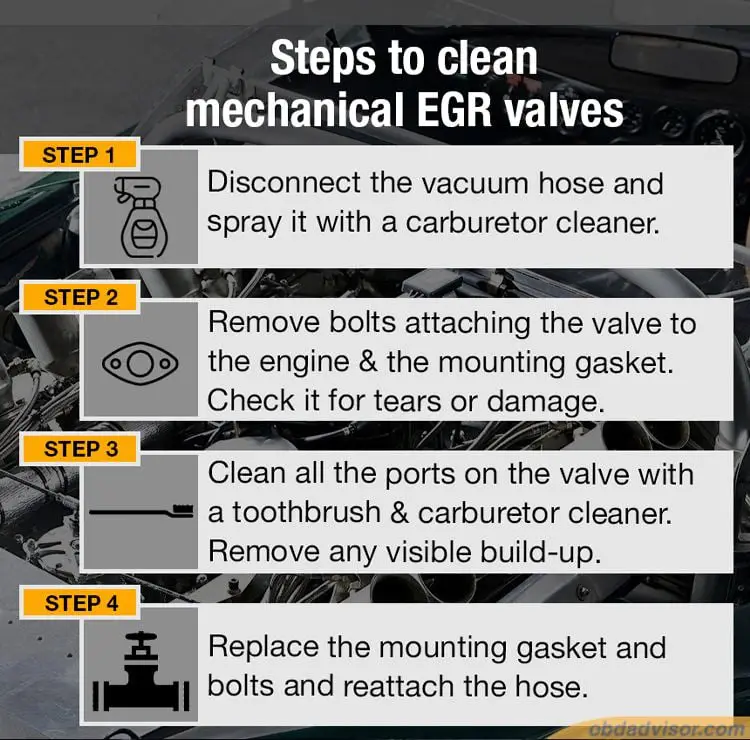
- Disconnect the vacuum hose and spray it with a carburetor cleaner. If there’s a visible build-up, clean it out with a pipe cleaner.
- Remove any bolts attaching the valve to the engine and the mounting gasket. Check the mounting gasket for tears or damage from oil and debris. If it’s compromised, replace it; if it seems fine, set it aside to re-use it.
- Clean all the ports on the valve with a toothbrush and carburetor cleaner. Thoroughly remove any visible build-up, so the diaphragm moves freely.
- Replace the mounting gasket and bolts and reattach the hose.
Cleaning electronic EGR valves:
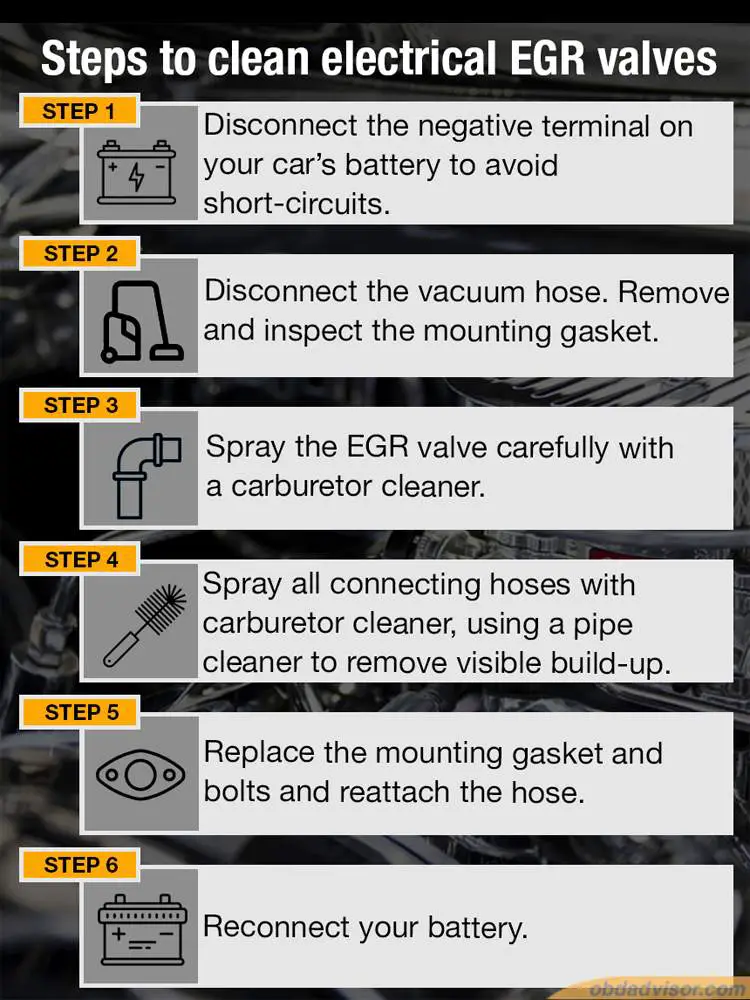
- Disconnect the negative terminal on your car’s battery to avoid short-circuits.
- Disconnect the vacuum hose. Remove any bolts attaching the valve to the engine and any sensors connecting it to other systems. Also, remove and inspect the mounting gasket as described in step 2 above.
- Spray the EGR valve with a carburetor cleaner, being careful to avoid any electronic circuits, connections, or sensors. If these areas require cleaning, you’ll need to buy a specific cleaner designed for electronic components. Don’t use a carburetor cleaner, which will likely damage them.
- Spray all connecting hoses with carburetor cleaner, using a pipe cleaner to remove visible build-up. Again, be careful not to spray any sensors or electronic connections.
- Replace the mounting gasket and bolts and reattach the hose.
- Reconnect your battery.
After you’ve cleaned the EGR valve, test it again using the methods above. If it still fails, you likely need a new one. Note the exact part number on your valve to ensure you’re buying the right replacement. Once you have the new valve, replacing it is easy:
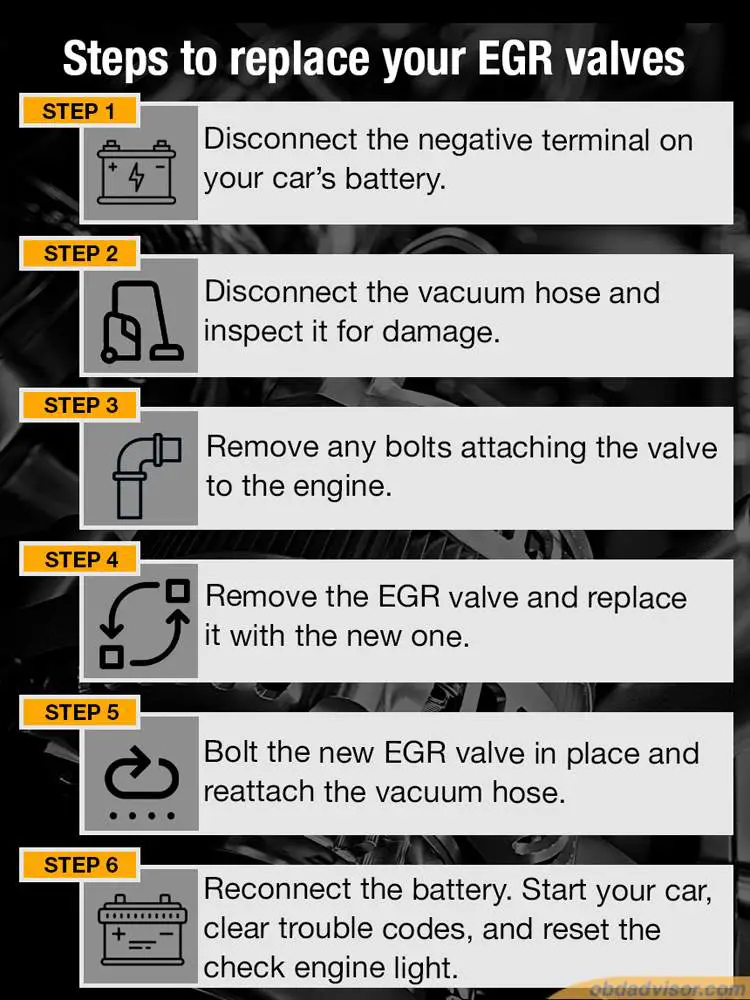
- Disconnect the negative terminal on your car’s battery.
- Disconnect the vacuum hose and inspect it for damage. If you notice rips or persistent build-up, replace the hose.
- Remove any bolts attaching the valve to the engine.
- Remove the EGR valve and replace it with the new one.
- Bolt the new EGR valve in place and reattach the vacuum hose.
- Reconnect the battery. Start your car, use your OBDII scan tool to clear trouble codes, and reset the check engine light.
It’s always a good idea to do a test drive after replacing any engine component, just to make sure everything’s working correctly. Clear the trouble codes first, so you can be made aware of any new ones that pop up.
And that’s all there is to it! As you can see, cleaning and replacing the EGR valve is easy once you know what you’re looking for. This easy fix will greatly improve your car’s performance and make sure you never fail an emission test.